As an avid Youtube creator and trail rider, I love to shoot video of my downhills. I also want to make them with as much production value (quality) as possible. I find myself utilizing a variety of guerrilla tactics while on the trail to get good shots. Use of light, low angles, shooting the same activity from 2 different angles, and positioning the camera in new and unusual ways can all help make shots more interesting and/or vibrant.
02-13-2020 Update:
Fellow YouTuber Toogy Howser recently posted a similar video about camera mounts. Find out more at the end of this article.
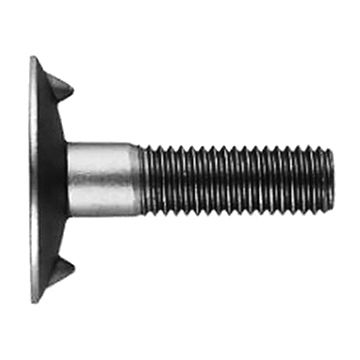
A major component of shooting good action video is a solid on-body camera mount. Way back in the 90’s, I would literally bolt a mini-DV camcorder to my helmet using a 3/8″ 16 tpi short bolt that I could purchase from a local hardware store. It was rickety and incredibly clunky, but it got the job done and I shot a few of my first downhills that way. The camera rocked around on top of my helmet, but a good tightening of the helmet straps kept it fairly immobile and got he the shots. Video was shaky and blurry. It was the best I could do with the tools I had.
Gone are the days of large tape-driven video cameras. We live in an age of solid-state media where we can record hours of high-resolution video and audio on a tiny micro-SD card smaller than a postage stamp. The new GoPro cameras have built-in motion stabilization and a variety of (often tacky) special effects. Current technology even lets us fly our own personal aircraft to capture our memories.
While riding in North Carolina a week ago, I got to ride with a number of fellow mountain bikers, most of whom loved to record their own content. Many had GoPro cameras, and everyone had their phones out at various spots during the adventures.
One guy I especially remember is Jon. Jon is a rider in Texas who brought a MotoRadds camera mount that attaches to the front of his helmet. This intrigued me because I have only ever ridden with a camera on top of my helmet until a year ago when I finally purchased a GoPro “Chesty” mount for my chest. I really thought the chest mount was the way to go until Jon told me that the chin mount is a game changer.
So I bought one and it was waiting for me when I returned to California.
This gave me an idea. How does the video vary when shooting from these three points; head, chin, and chest? Is one more stable than another? Are there advantages I might be unaware of? I was in the perfect position to test all three against each other and post the results.

Equipment
System 1 – Top of Helmet
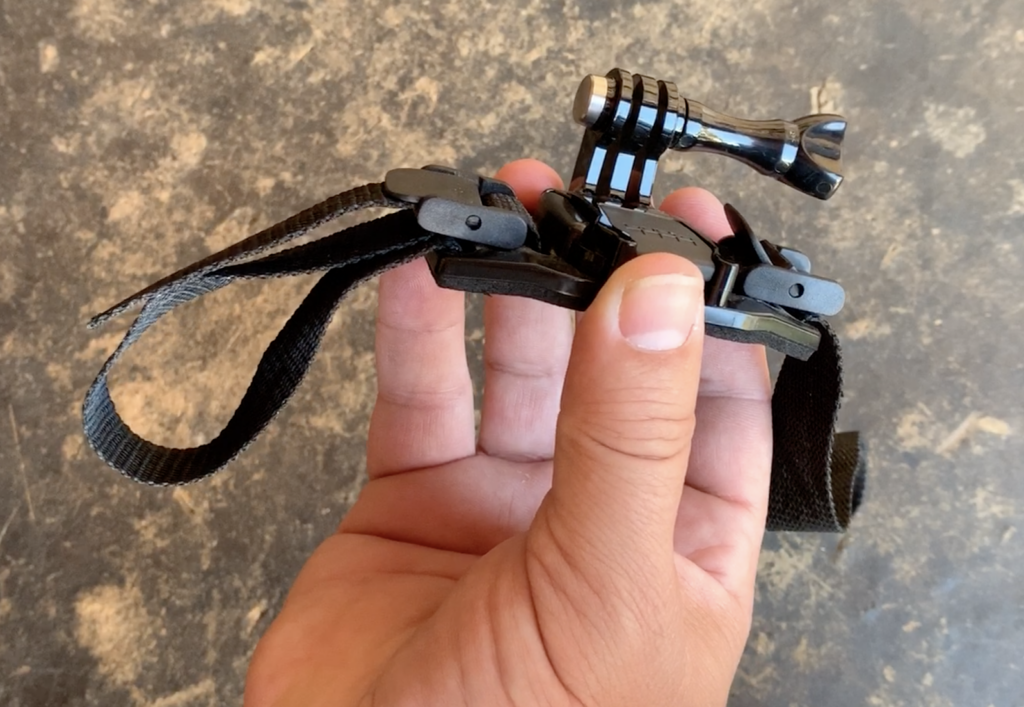
I am the proud owner of a Bell Super 3R MIPS helmet. It is fairly comfortable, it is snug, it provides full-face protection, and the chin bar is removable. I like it a lot. It also comes with a built-in GoPro mount on top which I tried to use for this test. Unfortunately, the small lock nut that holds the GoPro screw handle fell out while riding a trail somewhere, so it is not working properly and leaves me looking for an alternative.
I have a GoPro Vented Helmet Mount backup that I’ve used in the past, so I’m going to use it for this test. (It seems remarkably clean considering how much I have used it in the past!) It’s attached at least as securely as the original mount was, if not more so.
System 2 – GoPro Performance Chest Mount
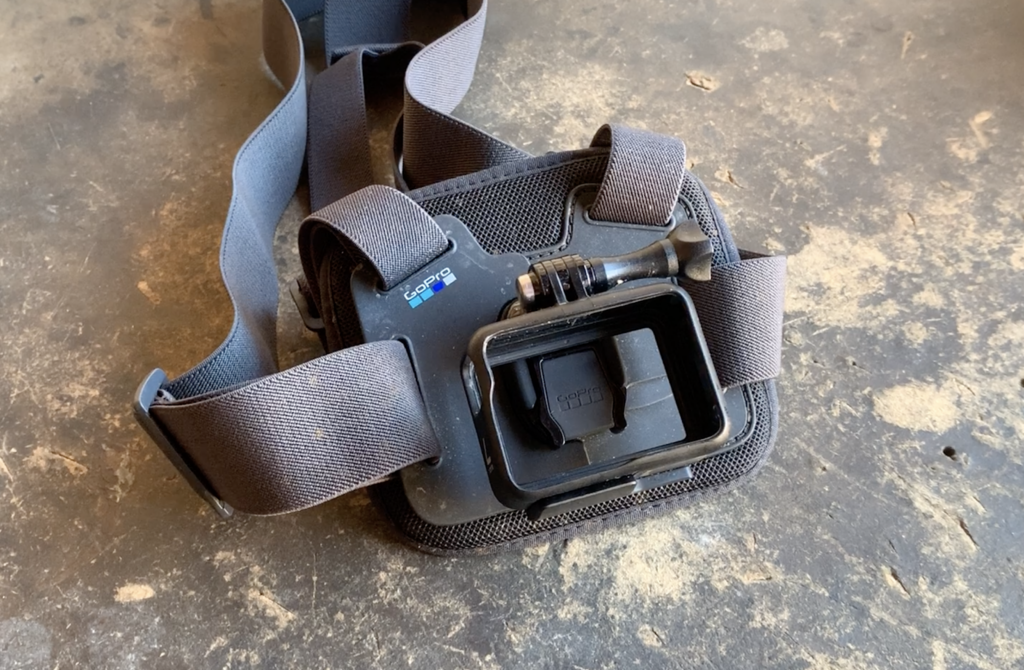
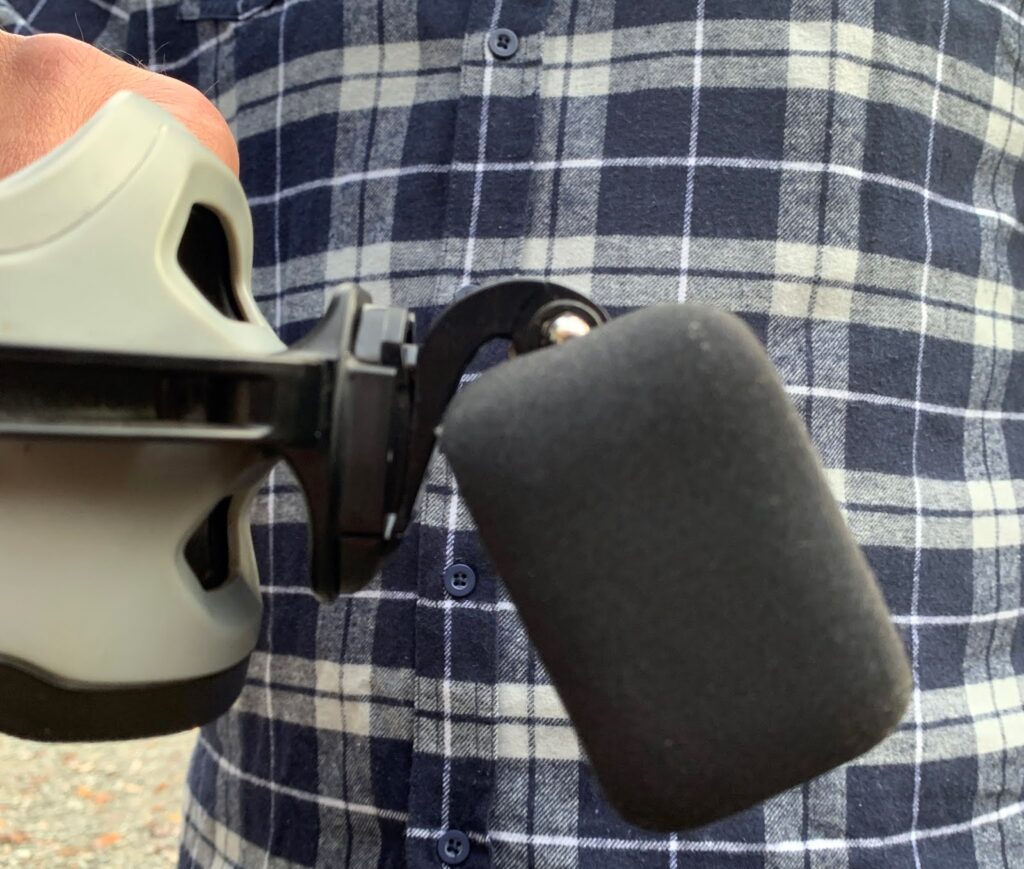
I have been using this chest mount to shoot POV video for about a year. It works well and I like it a lot. It mounts easily, it is fairly comfortable, and it shoots well. It goes on like a bra or a reverse backpack, and the camera mounts to the front. Pretty cut and dry.
It does tend to tilt too far down sometimes, so I need to keep an eye on that. Also, my hydration pack dangles in front of it if I don’t manage things well enough. Lastly, it’s important to mount the camera so it hangs upside-down in stead of the normal right side up mounting method. This way, if you hit a bump, the camera is already hanging downwards thus preventing it from drooping down and ruining your framing of your shot.
System 3 – MotoRadds Helmet Chin Mount
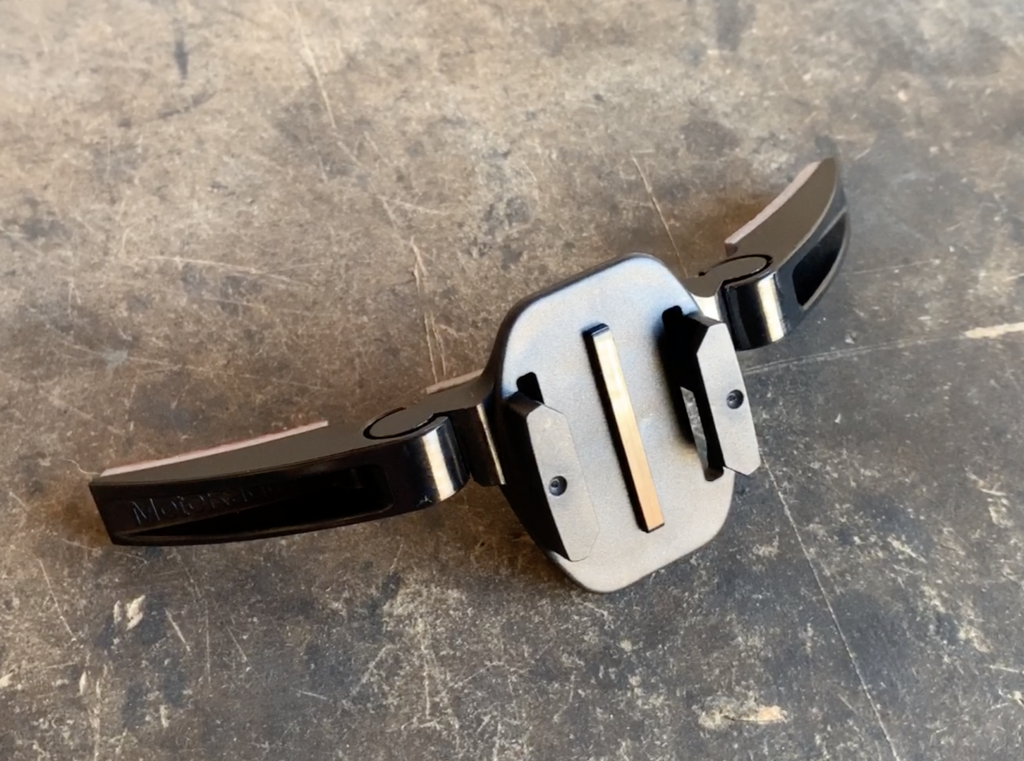
This thing connects to the front of a full-face helmet on the chin. This particular kit mounts with 3M adhesive that people swear will stick to anything. That wasn’t my experience. I just couldn’t get this thing to stick to my helmet even after wiping the area down with the provided alcohol wipe. It simply wasn’t having any of it and fell off every time I attempted to stick it.
But I got the thing to stay on using zip-ties by looping them through the front of the chin bar. It holds surprisingly well, probably a lot better than the adhesive would have worked (if it had worked).
I removed the side pieces since they were no longer necessary and everything looked pretty good. The mount is attached well and doesn’t look like it will move around much at all.
Test Conditions
I will be using all three systems with the exact same GoPro Hero 7 Black camera in Superview mode. Motion compensation will be turned off and I will shoot at 4K 30fps. Low light sensitivity will be deactivated. I will ride on the same section of trail with the camera mounted on each system and riding pretty much the same route and speed all three times.
I wanted my test to be as balanced as possible. I looked for a place where I could shoot with my GoPro from all three positions without any other variance in terrain, weather, or noise. I think I found a good answer near my house in the Los Gatos hills. There is a trail that has a loop at the top which is about 3/4 of a mile long and which has a bit of down, some up, and a few bumps.
The Ride(s)
I decided to conduct this very informal test on a trail near my house that has a loop at the top. I can climb up, ride the 3/4 mile loop three times – once with each mounting position – and then ride down. A fun day for science!
Chin
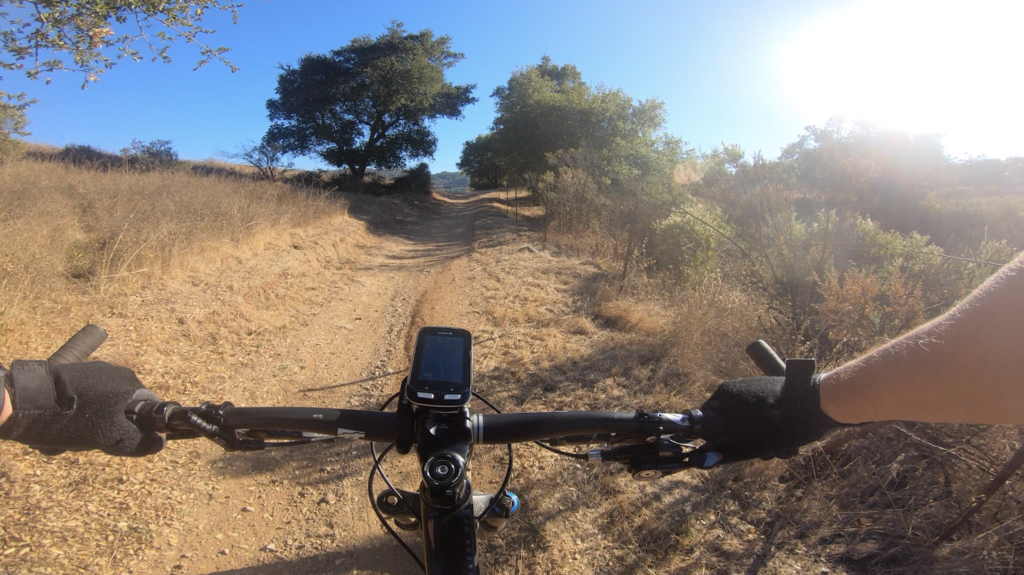
The chin mount has a lot going for it. It attaches easily, it suffers from fewer obstructions because its forward position removes a lot of handlebar creep from the footage, and it seems to soak up the bumps better than any of the other options. The head is naturally more stable than other parts of the body when riding a bike. Aside from the suspension absorbing bumps, my body was bobbing around a bit and appears to have further added to the stability of the footage. There was more of a “steady-cam” effect going on here.
I did feel a bit of weight difference with this mounting location, and I felt like I had to ride with my helmet a bit tighter than usual in order to keep it held fast. Overall, I did not notice any additional strain on my neck from this mount.
I did catch my hydration pack on it a couple of times when fetching new batteries. That was annoying. It is more exposed in a crash, and I could see where that might be cause for concern since GoPro cameras are not that cheap. Also, I must wonder if there is an increased chance of neck injury that could be caused by this thing whacking a branch or rock on the way down.
Head
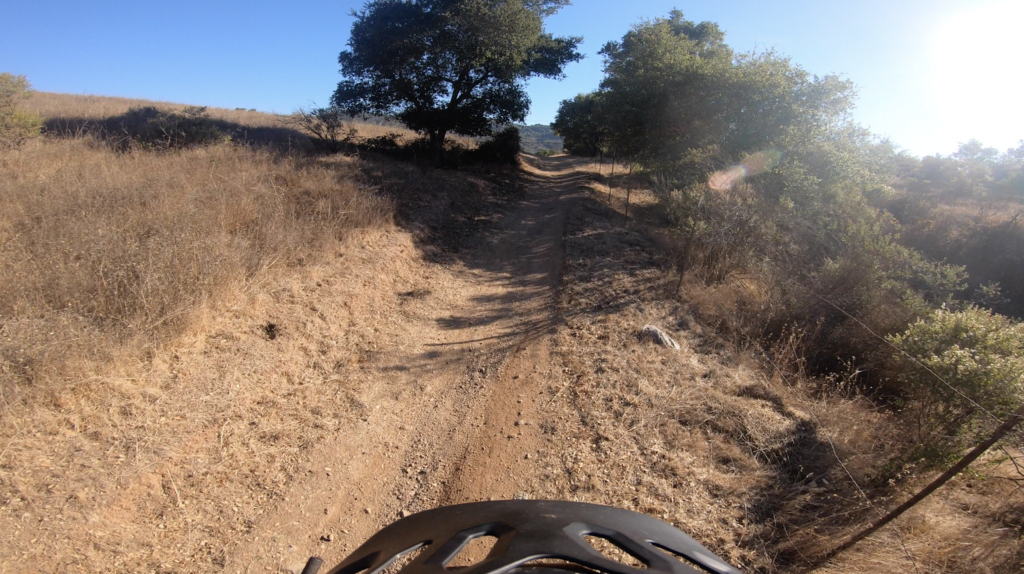
The head mount is the most obvious place to put a camera. It’s out of the way and it is above everything else. You could easily forget it’s there. This position captures the visor of my helmet and that’s a deal killer. Having this large curvy plastic thing at the bottom of the frame is horribly distracting. I can’t stop looking at it. This mounting position is great in terms of “field of view”. The camera’s wide angle is not wasted up here – you can see a bit further ahead and it feels more like flying to me.
Shock absorption seems to be okay but it’s not as good as the chin mount. I think the trail bumps traveling up through my spine, directly to the top of my head, make this possibly the most shaky option, although that could be debated with the chest mount footage. (View the footage yourself and make your own judgement).
Chest
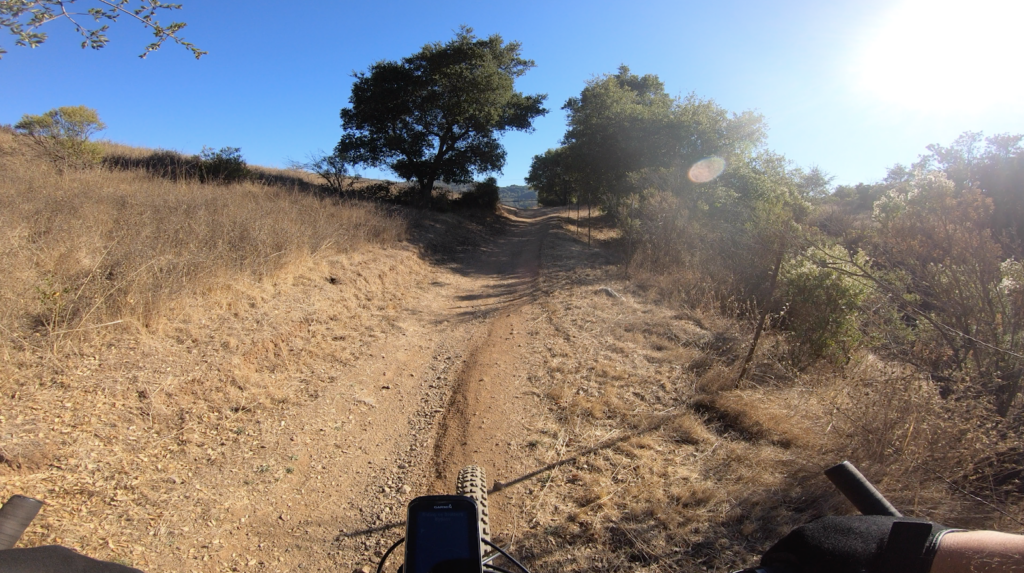
The padding on the chest mount makes this option a lot more viable than I would have thought before I owned this mount. The harness is comfortable and seems not to move around too much while riding. There is a bit of heat that is retained by having the padded mount so close to my chest. It presses against my chest and, while it doesn’t restrict breathing at all, it does feel warmer. That is a distraction for me, and I don’t like it.
This mount also places the camera between my chin and my arms, tucked inside the void that exists above my legs and top tube. That is probably the best spot to protect the camera should I crash, but it captures a LOT of extraneous stuff like my arms and handlebars, some of my forks, and my bike computer. That can be distracting to viewers.
Conclusions
While I thought that the chest mount was probably the most comfortable, I think the chin mount generates the best footage just from a quality standpoint. The lessening of my arms in the shot coupled with the added shock absorption make it an easy choice in my book. Your mileage may vary.
The chest mount is a bit warmer, but feels pretty good. And the top of the head is a great vantage point, but having the visor int he shot kills it for me as a viable option. It will probably be a good option if I ever use a backwards camera – that’s a test for another day!
Update:
Toogy Howser posted a video with other products and options – check it out at this link.
